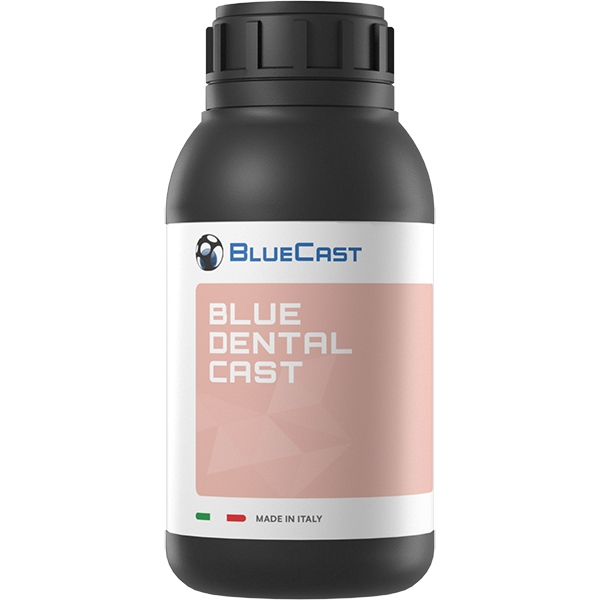


ABOUT
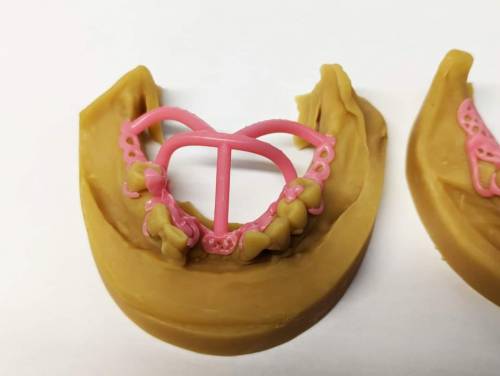
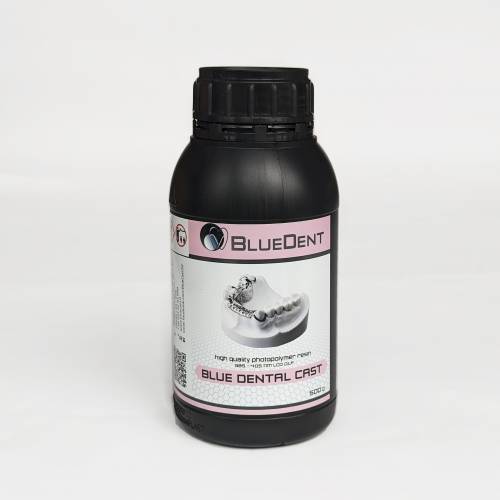
Blue Dental Cast has been developed by BlueCast in collaboration with dental experts. Without shrinkage, extreme accuracy and dimensional stability, it is suitable for any kind of applications like dental frames, crowns, bridges and Toronto bars. Perfect casting and success results with any dental investment materials and any kind of alloy. It makes possible to obtain high quality castings. Blue Dental Cast it can be used on all open source LCD and DLP 3D printers.
MAIN FEATURES

It ensures no investment cracks or expansion, and 100% ash-free burnout.

Perfect for E-Max press lost wax casting

Provides great casting properties and performance with any kind of phosphatic investment and fast burnout

Offers high accuracy and dimensional stability

Enables fast printing speed

It does not have bleeding issues, even on LCD machines

HOW TO USE IT
DOWNLOAD
BEFORE PRINT
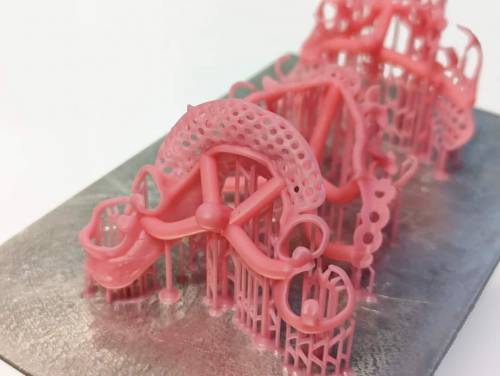
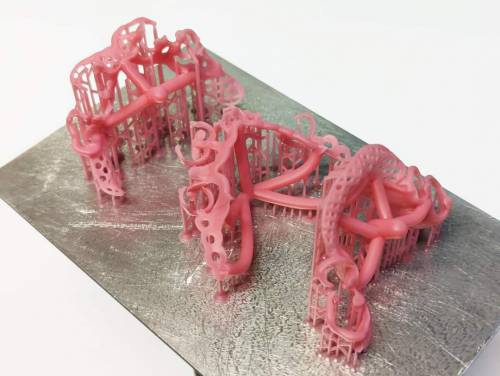
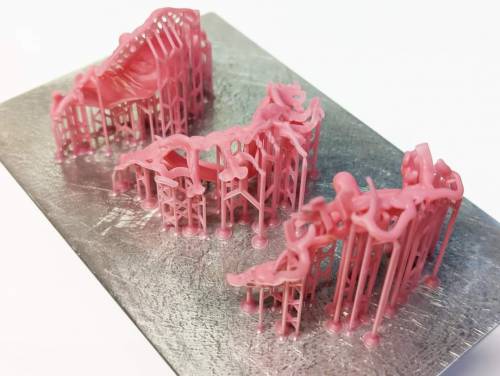
- With BlueDent Dental Cast, you can easily arrange the models using a few small supports. Raft is not needed.
- Perform z-axis calibration following the manufacturer's instructions.
- Before use, we suggest heating the resin using microwave ovens (never exceeding 30 seconds), ultrasonic cleaners, hot air, baby bottle warmer, etc.
- Before pouring the resin into the resin tank, shake the bottle for one minute.
- For proper debubbling, allow the resin to rest in the resin tank for 5 minutes before starting the print. To speed up the process, you can also filter the resin to remove air bubbles or vacuum the opened bottle.
- Failure to filter the resin after each print or neglecting to heat the resin before each print may result in printing failures. Do not store the resin in the tank. Please remove the resin from the printer tank, filter it, and store it in the original bottle.
POST-PRINTING CLEANUP
- The patterns printed with this resin are really hard and stiff.
- Clean the prints using 91% to 99% ethyl alcohol or IPA.
- When using an ultrasonic cleaner, run a 3-minute cycle (recommended procedure).
- With a resin washer machine, run a cycle of approximately 5 minutes.
- For simple immersion in an alcohol bath, wait approximately 8 minutes.
- After washing, dry the patterns with compressed air.
- If compressed air is unavailable, a hairdryer can be used to dry the patterns.
- A minimum post-curing time of 10 minutes is required.
- After UV post-curing, a quick washing with brand new alcohol ensures great casting results.