


ABOUT
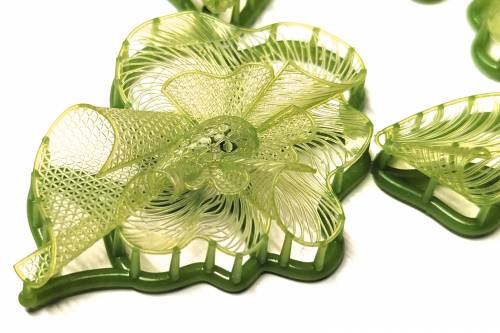
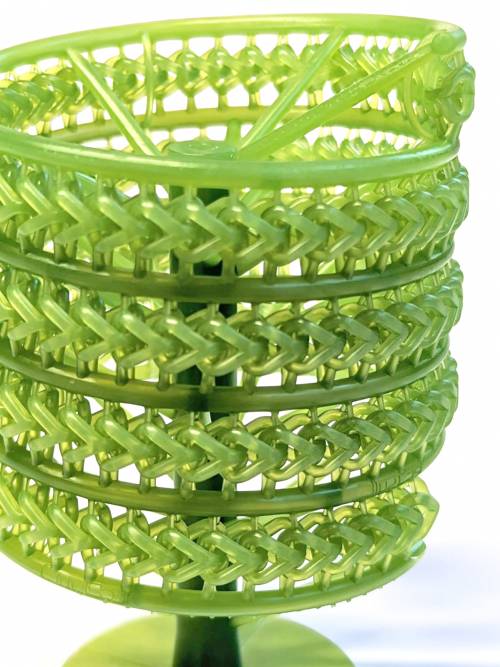
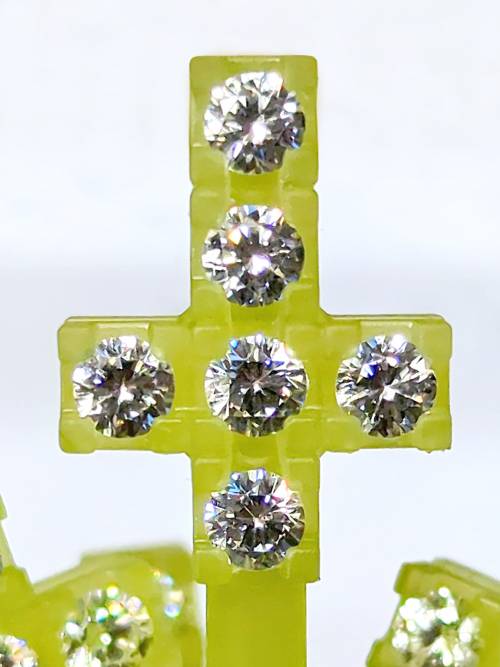
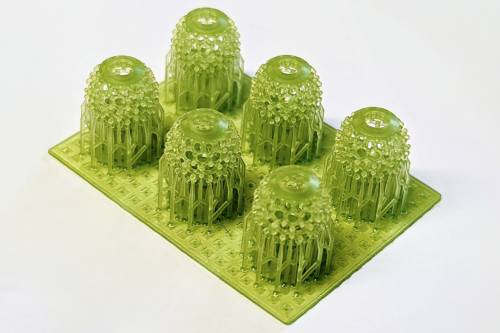
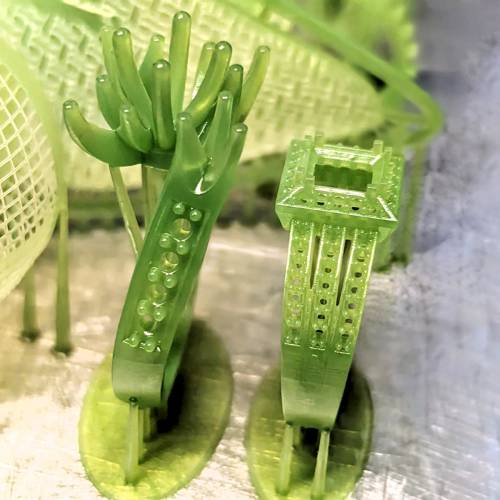
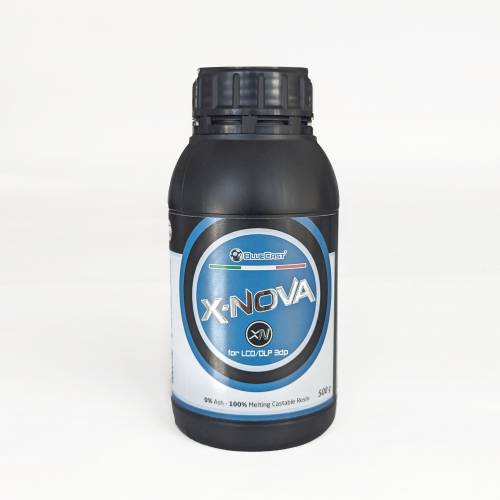
Introducing X-Nova, the latest castable resin innovation from BlueCast designed for a wide range of jewelry and dental applications. This versatile resin boasts exceptional flexibility post-printing, making it an ideal choice for stone pre-setting. After the postcuring it become stiff and rigid. X-Nova is fully compatible with all LCD and DLP machines, including Novafab 3d printers (printing profiles LT-Dark 50u or LT-Burn 50u). With simplified cleaning and support removal processes, X-Nova is the perfect solution for businesses selling printed models or offering printing services.
This newcomer isn’t here to replace our star, X-One, which remains unmatched after several rigorous casting tests against all available 3d castable resins on the market. Its casting ease is simply unbeatable. The new wax resin simply fits different needs.
MAIN FEATURES

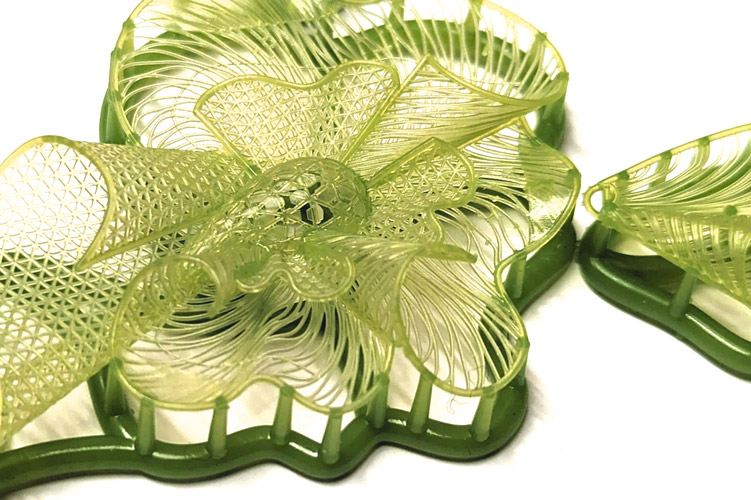
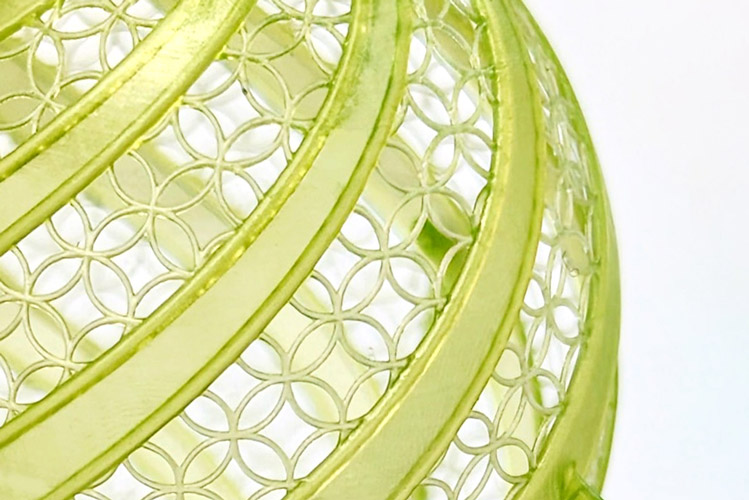
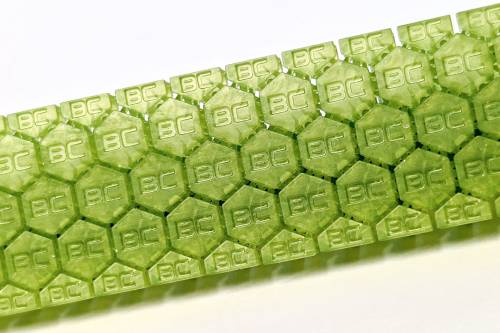
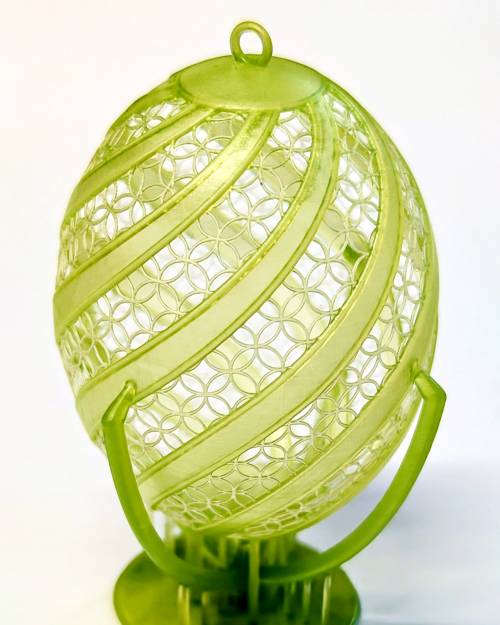
Delivering prints with unparalleled sharpness and accuracy

Flexible yet durable after UV exposure (posturing is mandatory!)

Compatible with both LCD and DLP printers

Ideal for detailed filigrees or classic designs (not for the heavier models)

Offers casting as seamless as our X-5 and X-10 resins

Meets the needs of high-volume production effortlessly

HOW TO USE IT
DOWNLOAD
BEFORE PRINT
- Before using the resin, shake the resin bottle for 60 seconds. If the resin has been sitting in the tank, use a silicone spatula to ensure it is thoroughly mixed.
- If not mandatory various methods can be used to heat the resin, such as microwave ovens (never exceeding 30 seconds), ultrasonic cleaners, hot air, baby bottle warmer, etc. The optimal operating range is from 20 to 30°C.
- To enhance platform model adhesion, you can sand the build platform using 150/200 grade sandpaper, and pre-heat the resin before printing.
- Check the Z offset and perform calibration if necessary.
- It is recommended to filter the resin after each print cycle and store it in its original container to preserve its quality and prevent any changes in its characteristics.
POST-PRINTING CLEANUP
- Remove the prints from the build plate.
- Wash the prints in 90% to 99% ethyl alcohol or IPA for 5 minutes approximately.
- Dry the patterns using compressed air for optimal results.
- Put the patterns inside a UV oven and let it cure for 50 to 60 minutes, considering the lamp power and pattern size. The UV curing process is complete when the pattern color becomes lighter.

